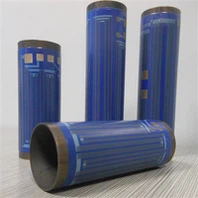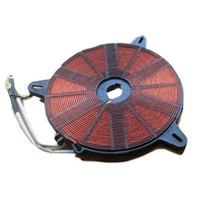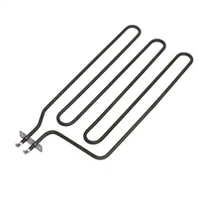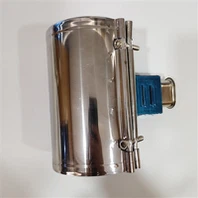
1. Pre-Installation Preparation
A. Select the Right Heater
Check specifications: Match voltage (e.g., 110V, 220V), wattage, and diameter to your mold design.
Material compatibility: Ensure the heater can handle the required temperature (typically 300–500°C).
Thermocouple integration: Use a K-type or J-type sensor for accurate closed-loop control.
B. Inspect the Mold & Heater
Ensure the gate area is clean (no residual plastic or debris).
Verify the heater coil is undamaged (no kinks or exposed wires).
2. Installation Steps
A. Positioning the Heater
Wrap or Insert the Heater:
For external gate heating, wrap the coil around the nozzle tip.
For internal heating, insert a cartridge-style heater into the gate insert.
Apply Thermal Paste: Improves heat transfer efficiency.
B. Secure the Heater
Use high-temperature ceramic tape or clamps to hold the coil in place.
Avoid over-tightening to prevent damage.
C. Electrical Connections
Connect to a PID Temperature Controller: Ensures precise regulation (±1°C).
Wire the Thermocouple: For real-time feedback.
Test for Short Circuits: Before powering on.

3. Operation & Calibration
A. Power On & Preheat
Gradually increase temperature to avoid thermal shock.
Monitor for hot spots using an IR thermometer.
B. Optimize Temperature Settings
Start with manufacturer-recommended settings.
Adjust based on material flow behavior (e.g., reduce if drooling occurs).
C. Run a Test Cycle
Check for:
✔ Uniform melt flow
✔ No gate freezing
✔ No overheating (discoloration)
4. Maintenance & Troubleshooting
A. Routine Checks
Inspect for carbon buildup (clean with a brass brush if needed).
Verify thermocouple accuracy periodically.
Conclusion
Proper use of Gate Puzzle Coil Heaters ensures consistent plastic flow, reduces defects, and extends mold life. For high-volume production, invest in PID-controlled systems for best results.
E-Mail: Cici@Jaye-Heater.Com
Whatsapp: +86 13480586962