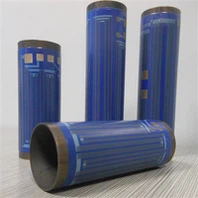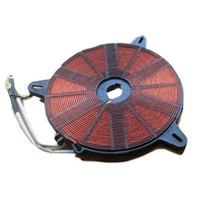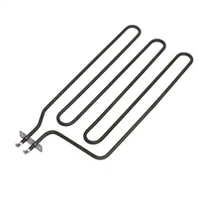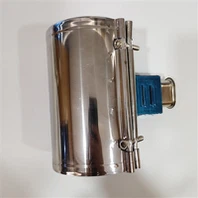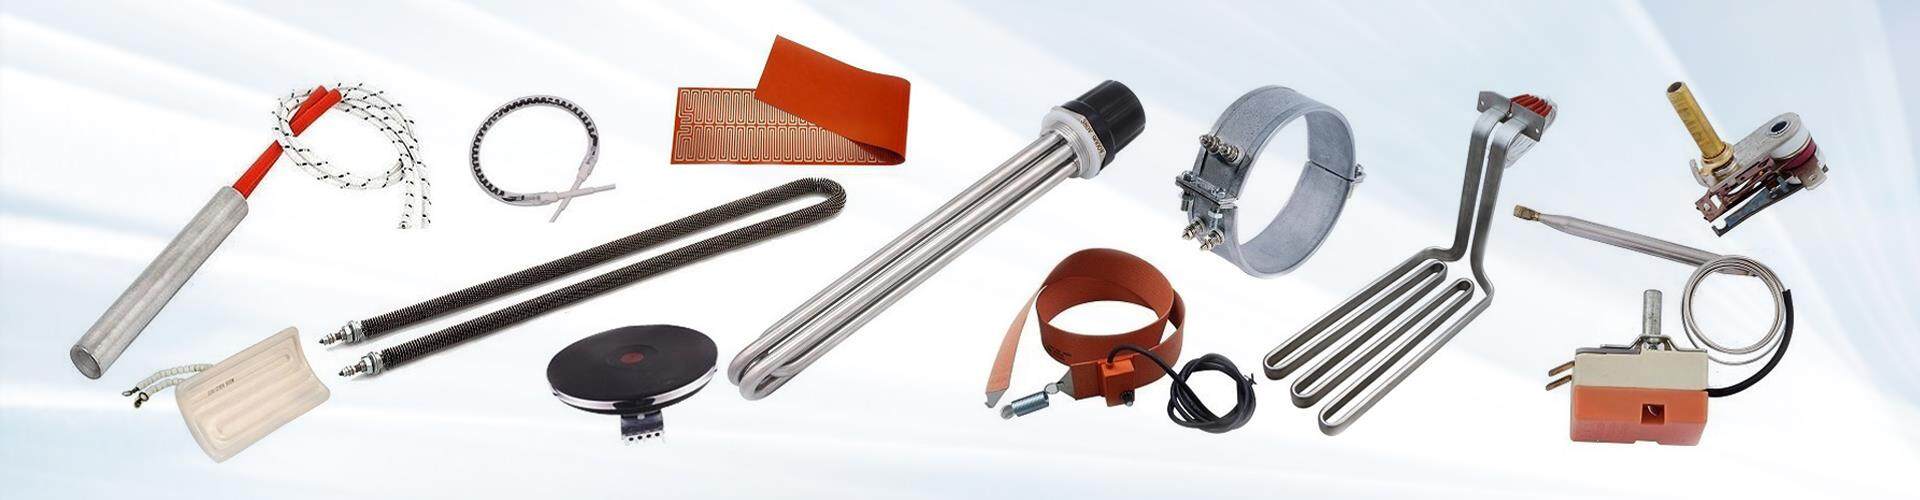
Installing a stove coil heater involves connecting it to a power source and ensuring it is properly positioned on or in your stove. Here's a general guide, but keep in mind that specific instructions may vary based on the model and type of stove coil heater you have.
1. Choose a Suitable Location: Place the stove coil heater on a flat, stable surface that can handle the heat generated. Make sure there is enough clearance around the heater for proper ventilation.
2. Inspect the Heater: Check the stove coil heater for any visible damage or defects. Do not proceed with installation if there are issues.
3. Power Source: Ensure that there is a power source nearby. If the stove coil heater doesn't come with a power cord, you may need to attach one. Use a cord suitable for the power requirements of the heater.
4. Attach the Power Cord: If the stove coil heater requires a power cord, use a screwdriver to attach the cord securely to the designated terminals on the heater. Follow the manufacturer's instructions for proper wiring.
5. Position the Heater: Place the stove coil heater on or in the stove. Some heaters are designed to sit directly on the stovetop, while others may be inserted into a specific compartment.
6. Connect to Power: Plug the power cord into the electrical outlet.
7. Test the Heater: Turn on the stove coil heater and test it to ensure that it is heating properly. Follow any specific startup procedures outlined in the user manual.
8. Temperature Control (If Applicable): If your stove coil heater comes with a temperature control unit, set it to your desired temperature. Follow the instructions for adjusting and monitoring the temperature.
9. Safety Precautions: Keep flammable materials away from the heater, and never leave it unattended while in use.