The following one is how to install a PTC heating element in a hot glue gun.
Step-by-Step Instructions
1-Unplug and cool down the glue gun
Make sure glue gun is unplugged and cooled down before opening up the glue gun.
2-Disassemble the glue gun
Take a screwdriver and take off the screws from the housing.
Carefully separate the body to expose the heating chamber.
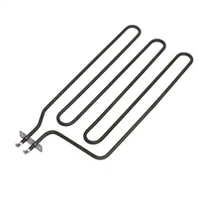
3-Find the old heating element
The heating element is typically warped around or incorporated into the glue chamber.
Take note of any wiring (take a picture)
4-Remove the old element
Desolder or disconnect the wires attached to the old heating element.
Gently slide or lift it out of the chamber.
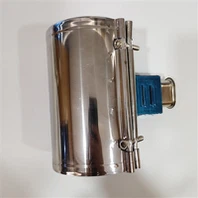
5-Place the new PTC heating element
Put the new element in the same position as the old one.
Secure it so it is in solid contact with the glue chamber for proper heat transfer..
6-Reconnect the wire
Solder or crimp the wires to the new element.
Check to see it the polarity matters (most PTC are non-polar but double check)
7-Reassemble the glue gun
Put the housing back together and tighten the screws.
8-Test the glue gun
Plug it in and let it heat up.
Check that everything warms properly and shuts off safely with no activity.
Safety Tips
Always match the element voltage (e.g., 12V element on a 12V glue gun).
Do not touch the element during operation - it can reach 200–250 °C.
If unsure, consult the manufacturer or a technician to avoid damage.
With proper installation, a PTC heating element can give your hot glue gun a longer life, faster heating, and safer temperature control.