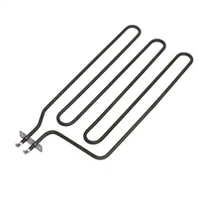
Cartridge heaters are small heating elements that are used in a variety of industrial applications. They are ideal for heating liquids, gases, and solids, and are commonly used in machinery, manufacturing, and laboratory equipment. Installing a cartridge heater is a straightforward process that can be completed in just a few steps.
1. Gather Materials
Before installing a cartridge heater, you will need to gather a few materials. Here are the things you will need:
- A cartridge heater
- A drill with a drill bit the same size as the heater
- A wrench or pliers
- Electrical tape
- Wire strippers
- Heat-resistant gloves
2. Remove Old Heater (if applicable)
If you are replacing an old cartridge heater, you will need to remove it first. Turn off power to the equipment and wait for everything to cool down before proceeding. Use the wrench or pliers to loosen the screws holding the old heater in place. Remove the old heater and dispose of it properly.
3. Prepare the Hole
Choose a location for the new heater and use the drill to create a hole in the equipment. The hole should be the same size as the heater. Be careful not to damage any wires or other sensitive equipment during this process.
4. Install the Cartridge Heater
Insert the new cartridge heater into the hole you created. Make sure it is flush with the equipment and tighten the screws to hold it in place. Use electrical tape to secure any wires and prevent them from touching the heater.
5. Connect the Wires
Connect the wires from the new heater to the power source in your equipment. Use wire strippers to strip the insulation off the wires and then twist them together with the wires from the power source. Cover the exposed wires with electrical tape to ensure they do not come into contact with anything.
6. Test the Heater
Turn the power back on to your equipment and test the heater to ensure it is working properly. If everything is working as expected, you have successfully installed a cartridge heater.