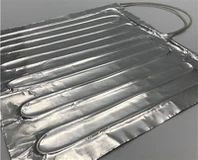
Kapton heating elements can be used on a camera to prevent condensation from forming on the lens or other parts of the camera due to temperature changes or high humidity. Here are the general steps to use a Kapton heating element on a camera:
1-Determine the area of the camera that needs to be heated: This will depend on the specific camera and its operating conditions. Usually, the lens or other exposed surfaces are the most likely to be affected by condensation.
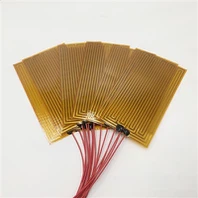
2-Choose the right Kapton heating element: The Kapton heating element should be the appropriate size and shape to fit the area that needs to be heated. The wattage and voltage of the Kapton heating element should also be selected based on the specific camera's power requirements.
3-Install the Kapton heating element: The Kapton heating element can be adhered directly to the surface of the camera using a high-temperature adhesive or a double-sided tape. Make sure to follow the manufacturer's instructions for proper installation.
4-Connect the Kapton heating element to a power source: The Kapton heating element should be connected to a power source that matches its voltage and wattage specifications. This can be done using a wiring harness or a simple power adapter.
5-Monitor the camera for condensation: Once the Kapton heating element is installed and connected to a power source, monitor the camera for any signs of condensation. The Kapton heating element should keep the camera dry and free from fogging.

It is important to note that the installation of a Kapton heating element on a camera may void the manufacturer's warranty. It is also important to follow all safety precautions when working with electrical components and to consult with a professional if you are not familiar with electrical installations.