How to install PTC heating element?
Installing a PTC (Positive Temperature Coefficient) heating element is a straightforward process and can be done in a few easy steps. Here's a general guide on how to install a PTC heating element:

- Determine the installation location: The PTC heating element should be installed in a location that allows for proper ventilation and clearances. Make sure that the element is not installed near any flammable materials or in a location that may be exposed to moisture or other environmental factors that may damage the element.
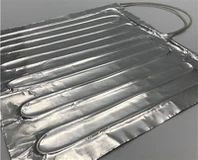
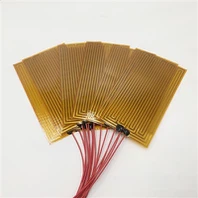
- Mount the element: Depending on the specific PTC heating element being used, there may be different mounting options available. Some PTC heating elements may be mounted using screws, while others may have adhesive backing. Follow the manufacturer's instructions for proper mounting of the element.
- Connect the wiring: Connect the wiring from the PTC heating element to a power source or control device. Make sure to follow the wiring diagram provided by the manufacturer to ensure proper wiring connections.
- Test the element: Once the element is installed and wired, test it to make sure it is functioning properly. Use a multimeter or other testing device to check the resistance and voltage of the element. Follow the manufacturer's instructions for proper testing procedures.
- Enclose the element: Depending on the specific application, the PTC heating element may need to be enclosed in a protective housing or casing. Follow the manufacturer's instructions for proper enclosure requirements and installation.
It's important to note that installation instructions may vary depending on the specific PTC heating element being used. Always refer to the manufacturer's instructions for specific details and safety guidelines when installing and using a PTC heating element. Additionally, make sure to follow proper safety precautions when handling electrical equipment and working with potentially hazardous materials.