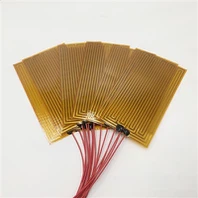
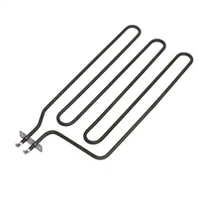
How do you properly install a cartridge heater?
Installing a cartridge heater correctly is essential for ensuring it operates efficiently and lasts for its full lifespan. Here's a step-by-step guide to help you install a cartridge heater properly:
1. Turn Off Power
Make sure the equipment is powered off before you begin installation to avoid electrical shock.
2. Check Heater Size
Ensure the cartridge heater's diameter and length match the mounting hole in your equipment. The heater should fit snugly without any gaps to prevent heat loss.
3. Clean the Mounting Hole
Clean the mounting hole of any dust, oil, or debris to ensure a proper contact between the heater and the mounting surface.
4. Apply Thermal Paste (Optional)
If needed, apply a thin layer of thermal paste between the heater and the mounting surface. This helps improve heat transfer, especially in high-performance applications.
5. Insert the Heater
Carefully insert the heater into the mounting hole, making sure it fits securely. If the fit is loose, you can use mounting brackets or bushings to hold it in place.
6. Connect the Wires
Connect the heater's power leads to the power supply, ensuring all connections are secure and insulated. Avoid any exposed wires.
7. Install Temperature Sensor (Optional)
If temperature control is needed, install a thermocouple or temperature sensor in the appropriate location.
8. Double-Check and Test
Before powering up, double-check all connections. Turn on the power and test the heater to ensure it heats up properly without any issues.